

Car security relies on antennas. Faulty coils cause lockouts. Proper testing prevents breakdowns. Kiwi’s Auto Repair offers expertise. Technicians follow strict procedures. Each step ensures reliable detection. Visual checks start the process. Clean surfaces reveal hidden damage. Loose connections spark early failures. Accurate measurement guides repairs. Proper tools guarantee consistent results. Customers value swift diagnostics. Workshop standards exceed industry norms. Trust builds through proven methods. Detailed analysis saves future costs. Confidence grows with each test.
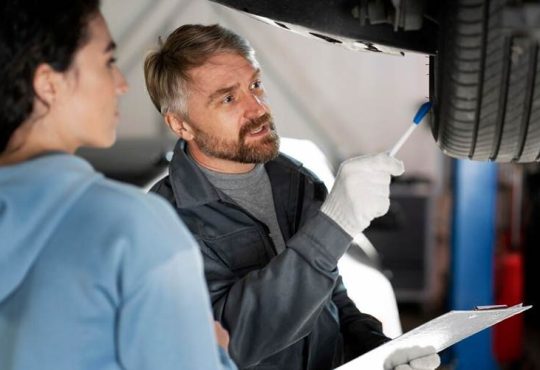
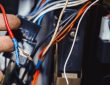
Antenna Visual Inspection
The technician removes antenna cover. The coil becomes fully visible. Inspect for corrosion on windings. Look for burnt spots nearby. Check for broken solder joints. Verify mounting brackets remain tight. Ensure wiring harness is intact. Clean any debris gently. Use lint free cloth carefully. Avoid abrasive tools during cleaning. Visual signs often indicate faults. Kiwi’s Auto Repair, the most well known Auto Repair in Santa Barbara, CA based company, trains staff thoroughly. The workshop documents each finding. Photographs capture problematic areas clearly. Labels mark inspected components accurately. Missing pins require immediate replacement. Cracked insulation must be trimmed. Secure connections prevent signal loss. The coil alignment stays correct. All observations recorded in logbook. Review findings before next test. Visual inspection concludes successfully.
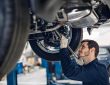
Coil Resistance Test
The technician connects multimeter leads. Measure resistance across coil terminals. Expect low ohmic value typically. High reading signals internal breakage. Low reading may indicate short circuit. Compare result to manufacturer specs. Kiwi’s Auto Repair maintains reference tables. The workshop records exact numbers. Repeat test to confirm stability. Temperature variations affect readings slightly. Allow coil to cool before testing. Clean contacts ensure accurate measurement. Faulty solder joints raise resistance. Corrosion adds unwanted impedance. Replace coil if values deviate. Verify replacement part matches original. Re‑measure after installation completes. Consistent reading confirms proper function. Document final resistance for future reference. The team signs off on test. Resistance check validates coil health. Test concludes with confidence.
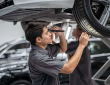
Signal Strength Check
The specialist attaches signal probe. Activate immobilizer key fob gently. Observe antenna response on meter. Strong signal indicates proper coupling. Weak signal points to coil issue. Measure peak voltage during activation. Kiwi’s Auto Repair calibrates equipment regularly.
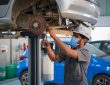
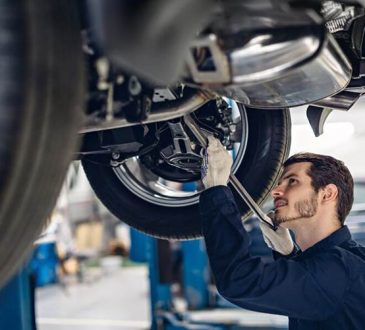
Final Validation
The team performs full system test. Insert key into ignition gently. Observe immobilizer response on dashboard. Engine should start without errors. Any warning indicates remaining issue. Kiwi’s Auto Repair runs final diagnostic. The workshop checks error codes thoroughly. Clear all codes before final run. Verify communication between antenna and ECU. Test multiple start cycles consecutively. Consistent success proves repair effectiveness. Document each successful start event. Customer receives detailed service report. Technician explains findings in plain language. Offer warranty coverage for repaired parts. Schedule follow‑up inspection if desired. Customer leaves with confidence restored. Workshop maintains high reputation locally. Staff celebrates another job well done. Final validation completes repair cycle. Kiwi’s Auto Repair stands behind quality. Completion marks successful antenna restoration.

Identifying the Intermittent Clicking Noise from Your AC Compressor
A quiet car cabin offers a peaceful driving experience for every traveler. Strange sounds from the dashboard often signal trouble...
Crucial Signs Your Parking Brake Needs Immediate Repair
The parking brake provides a vital layer of safety for every driver. This system prevents the car from rolling away...
The Hissing Horror Understanding AC Compressor Leaks
A strange sound signals trouble now. Your car AC suddenly hisses loudly. This hissing noise is alarming always. It usually...
Everything You Need to Learn About GMC Brake Booster Failure
The brake supporter is an essential safety component in GMC vehicles, providing the pedal assist needed for confident and active...